Table of Contents
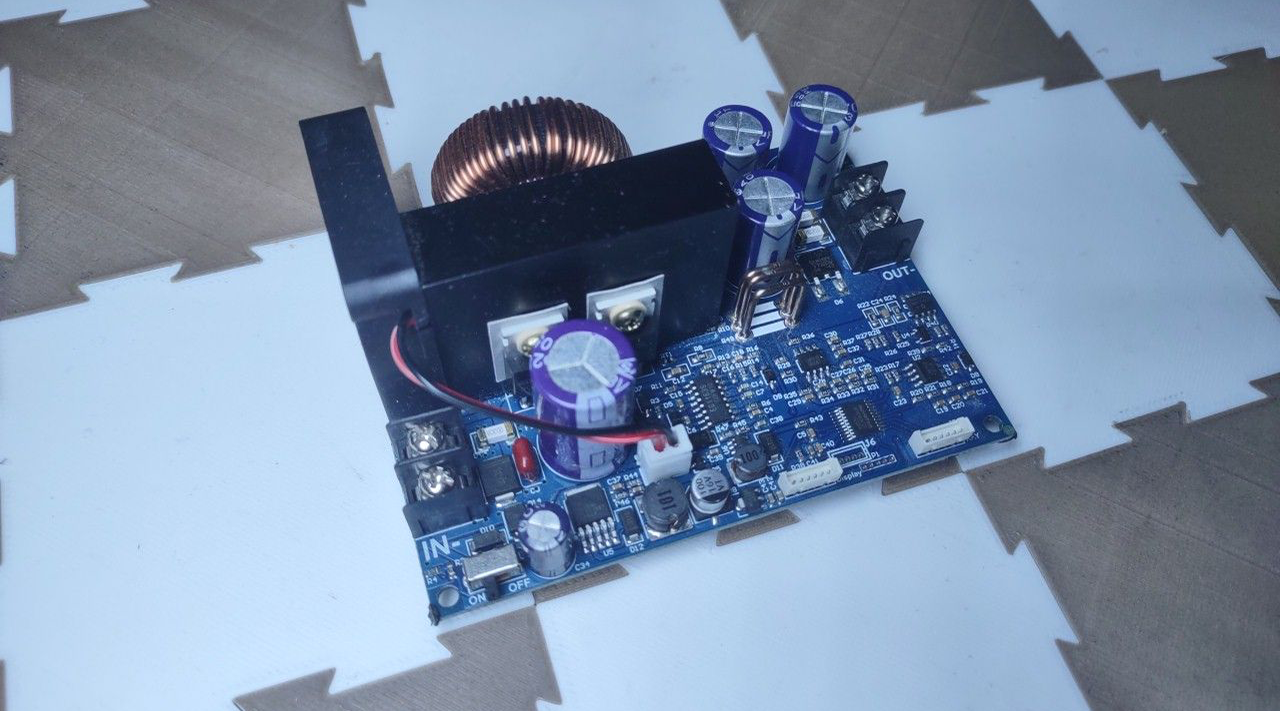
Regulator Board Overview
This regulator board is really great. It's a constant current buck converter, which means it lets you control the current and voltage settings. A buck converter, whether its constant current or not, can only reduce the voltage. It does not have the ability to increase the voltage. In this case of this buck converter, its almost not a problem at all. That's because this regulator board supports a relatively high 55V make input voltage.
That means this regulator board can be attached to a 48V lithium ion battery, and be used as an excellent portable power supply that can also charge a wide array of other lithium ion batteries.
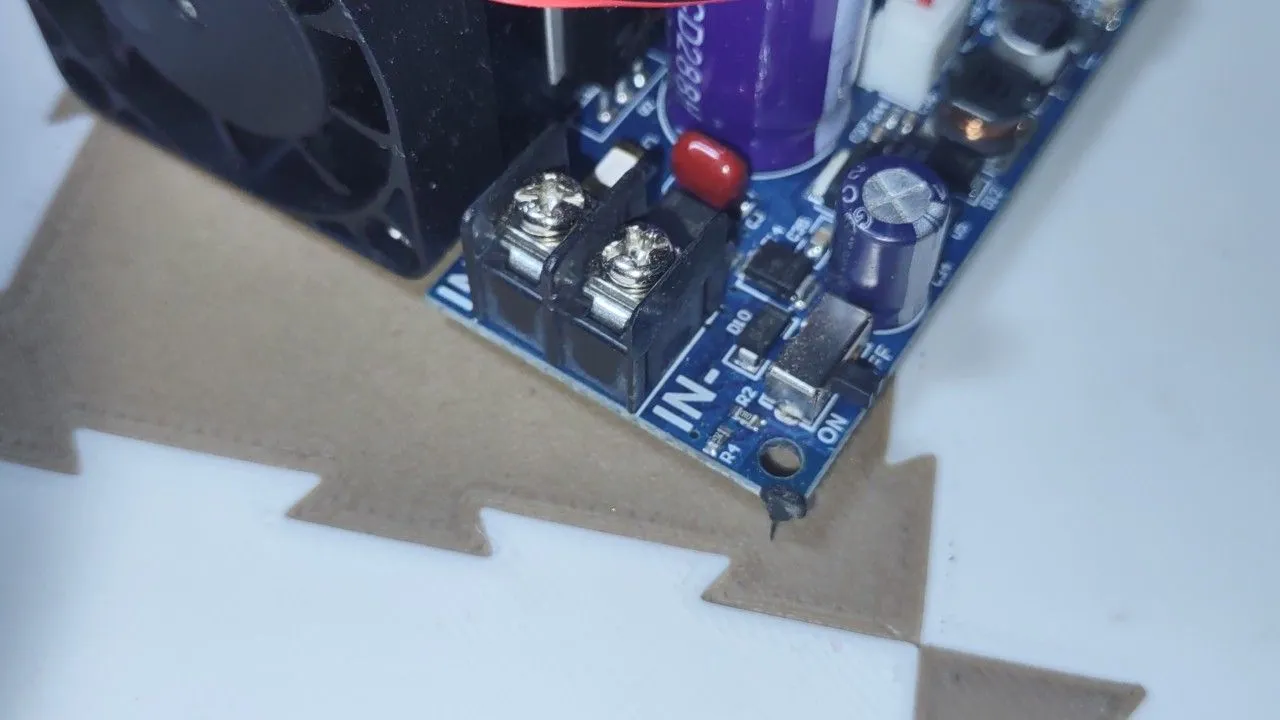
Here, on the left side of the board, you can see the input. It's just those basic screw terminals, so you don't need any special equipment to use this board. 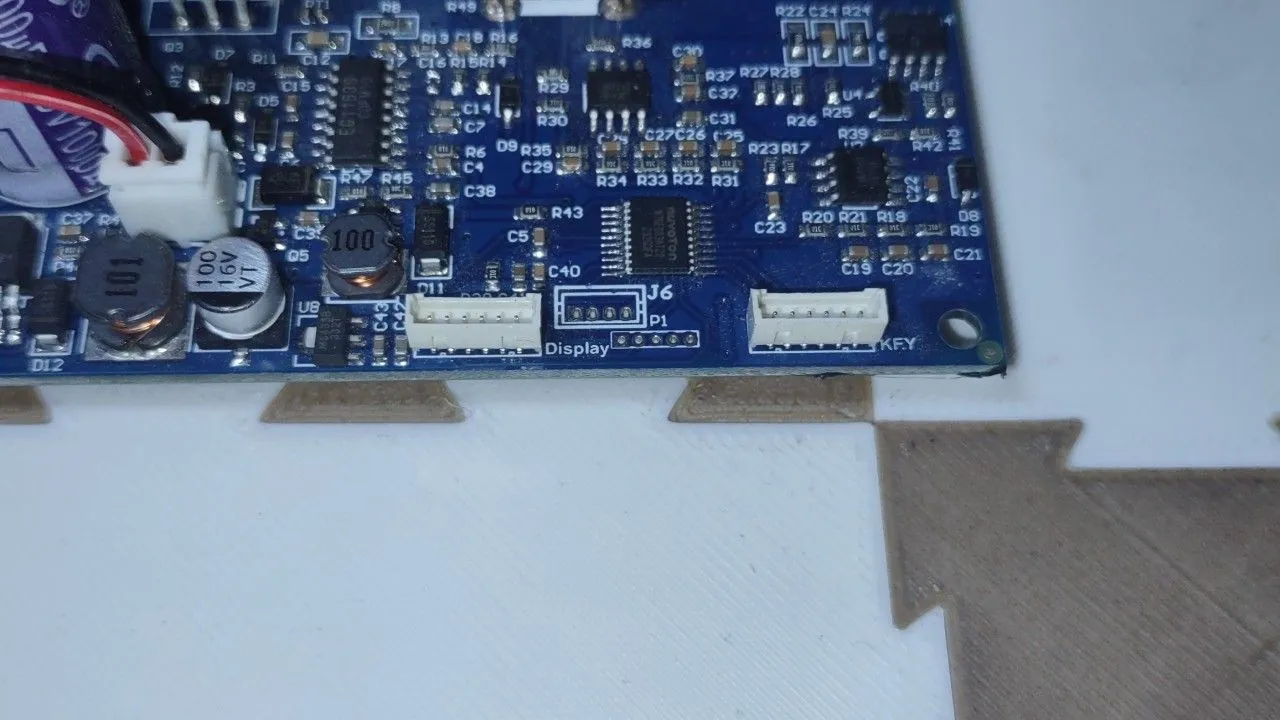
Here's the connections for the screen. Even though the connectors are the same for the screen, it's really easy to remember how to hook it up because the left side on the screen goes to the left side on the board, and the right side on the screen goes to the right side on the board.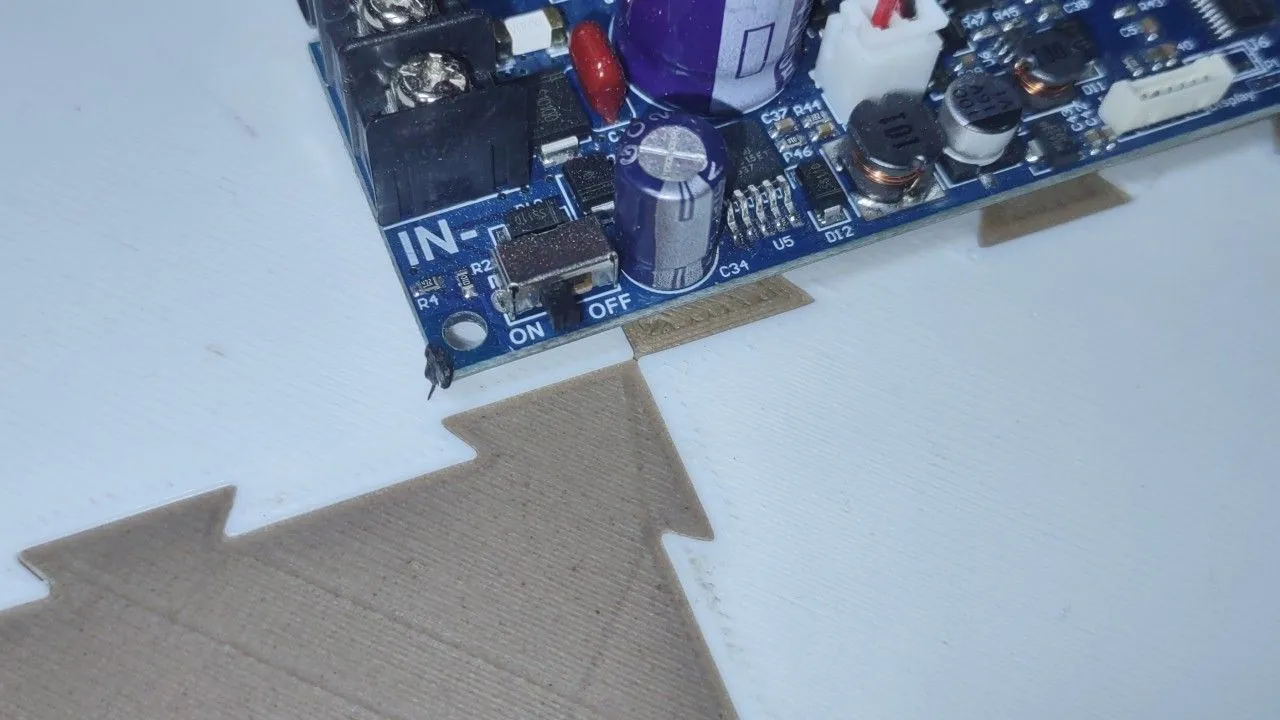
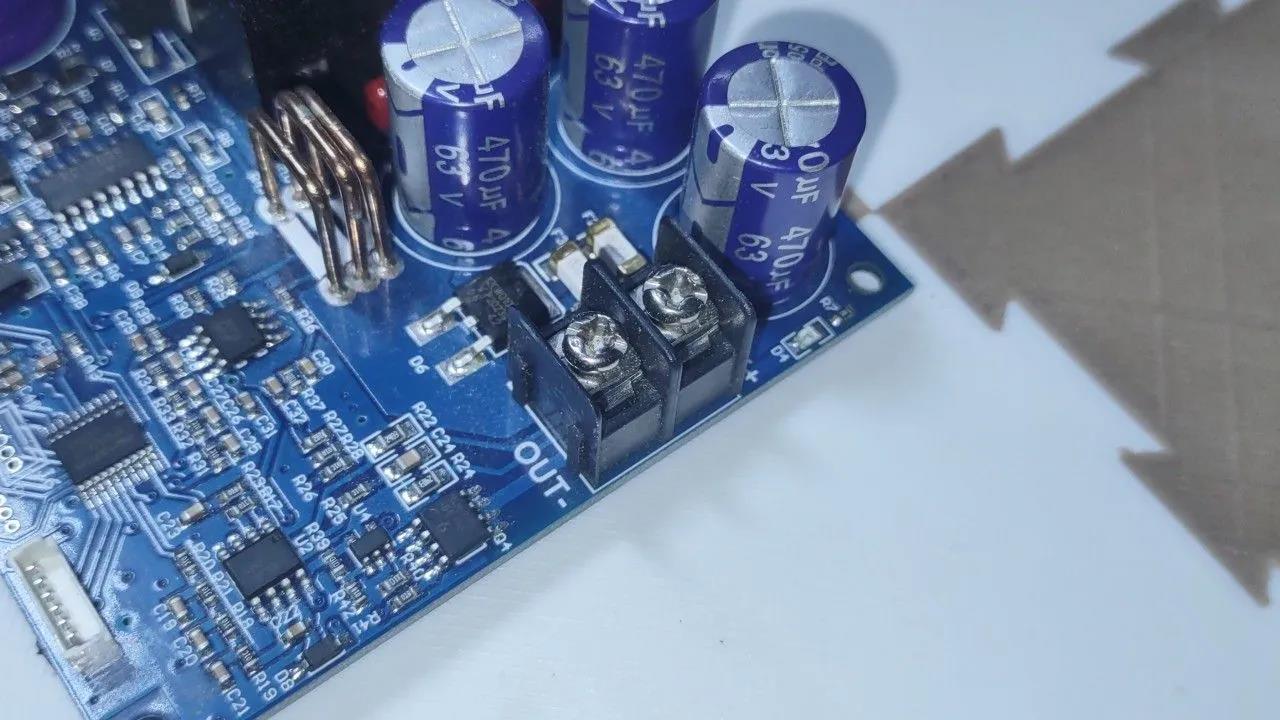
Input Voltage and Capacitors
On the Amazon page, it says a max input of 50 volts. It depends on the listing you're looking at and which part of the listing you're looking. But I can tell you it has 63-volt input capacitors and 63-volt output capacitors. I haven't checked the tolerances of the other chips, but I've run this reliably with a 55 volt input with no problems.
As far as the output, the maximum of that output is going to be about a volt and a half lower than whatever the input is, but it still has its own maximum. I believe that's 51 volts.
Fan and Thermal Protection
It has a fan and that fan is really well done. What's special about the fan? Nothing. It's a cheap, low voltage, low current fan. It's the control system they're using that's nice. The fan only kicks on when it really needs to, and if that fan's running, this thing is not going to be hot – maybe just warm to the touch. You'd have to put it in extreme circumstances like maxing out the output current at 20 amps while having like a 40-volt difference between the input and the output for this thing to struggle. And if it does, it will cut off before anything gets damaged. I haven't had these burn up on their own. The only way I've broken these is by damaging the board, hooking it up backwards, or doing something else stupid. This thing works just as good as it says it will.
Curious Connections and Screen Functionality
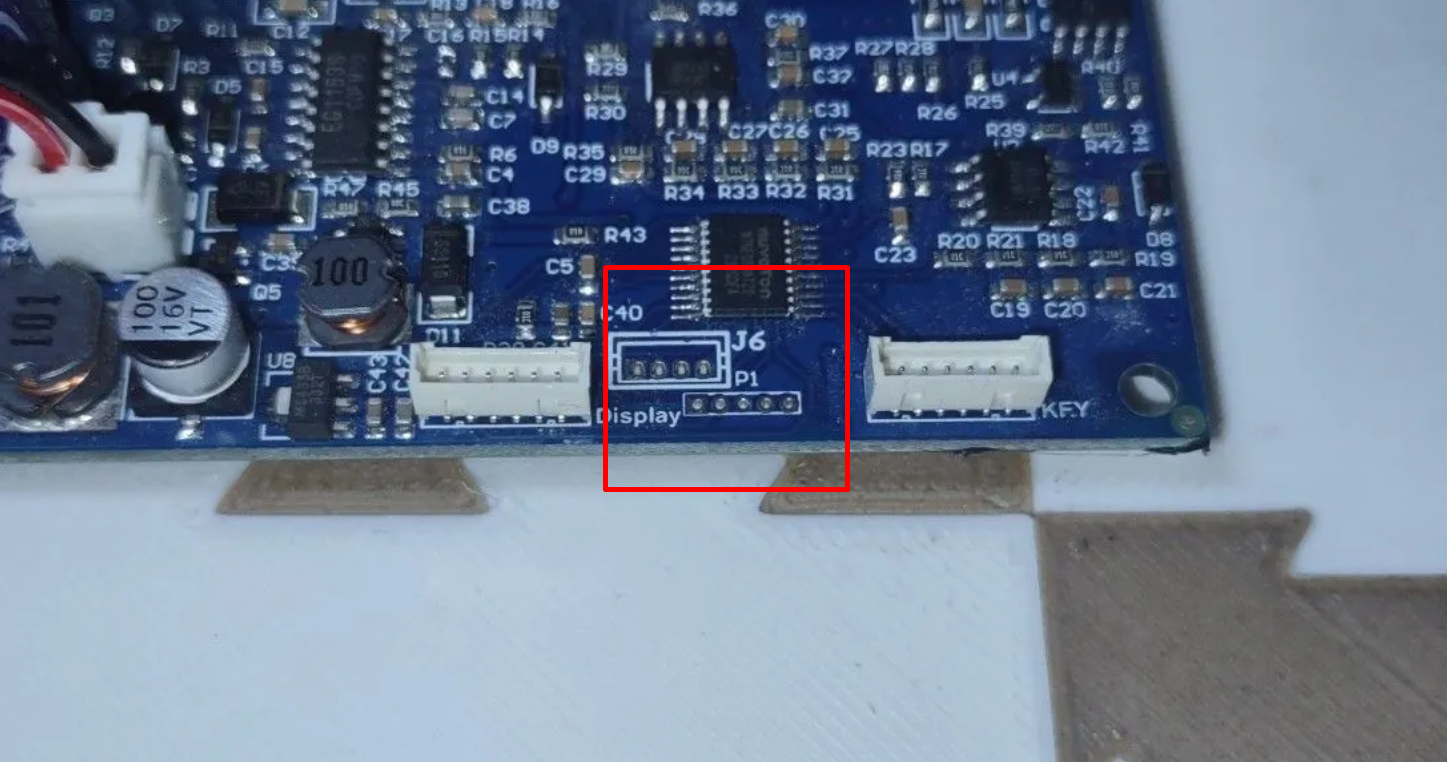
Regardless of those pins and what they might do, there is opportunity here because I do believe the screen is I²C. If it's not I²C, it's some sort of basic digital protocol. So this cheap, low-quality screen could easily be replaced, and that's great because the cheap screen is the only complaint I have about this regulator.
Applications and Performance
Powering Lower Voltage Devices
What can you do with this regulator board? The most obvious thing to do with a buck converter is to power a lower voltage device with a higher voltage input.
Suppose you’ve got a gadget rated for 12 V but only a 24 V battery in your toolbox. Dial the supply’s voltage down to 12 V and set a current limit above your device’s draw (say, 1 A), then feed the supply from whatever DC or AC source you choose. The internal regulator “drops” the excess voltage so your gadget sees a clean, stable 12 V and can’t pull more than the 1 A you allowed. Alternatively, if you have a separate DC‑DC converter, you’d configure it in exactly the same way: desired voltage and current limit, and it automatically adjusts its output around your load’s needs.
So, consider something like a 12 volt LED strip. 12V strips can be ran at a little bit over 12 volts if you want some extra brightness at the expense of a lower operational lifespan. But you don't want to go too far; you definitely don't want to put 30 volts into it. It won't last very long and it'll get very hot. Its good to set the output voltage to somewhere around 14 and a half volts. If you go any higher than that and you're just not getting the brightness that you deserve for the power that you're putting into it.
Alternative Uses: Multimeter Functionality
You can actually stretch a simple adjustable DC bench supply into three surprisingly useful roles, all without firing up a true multimeter or charger. First, you can use it as a makeshift voltmeter: simply crank the supply’s output voltage to a value you know exceeds the unknown source, then dial the current limit down to zero.
When you clip the leads onto your 7‑cell pack (nominally around 25 V), the supply immediately collapses its output to the battery’s actual open‑circuit voltage—say, 24.93 V—and since the current is set to zero, no current flows at all. It’s not a substitute for a real meter—you’ll lack reverse‑polarity protection and proper input impedance—but in a pinch it tells you the battery’s voltage without sourcing or sinking any current.
Battery Charger
Next, you can turn that same supply into a constant‑current, constant‑voltage battery charger. After measuring the pack at, say, 24.9 V, bump the supply’s voltage up to something safely above it—27 V works nicely—and set the current knob to your desired charge rate, for example 2 A. Plug in, and the supply automatically throttles its voltage down (to roughly 25.9 V in this case) so that exactly 2 A flows into the battery. If you then reduce the current limit to 1 A, you’ll watch the output voltage shift to around 25.6 V, because that’s the voltage required to push 1 A into the pack. Voilà: a DIY CC/CV charger.
This regulator board makes a great custom battery charger, because you can set the voltage precisely. For example, if you have a 48V lithium ion battery, it has a full charge voltage of 54.6V. The problem is, that is 4.2V per cell, which is the absolutely maximum voltage that the cells can handle. You can charge your battery to 4V per cell, you will get a lot more life out of it in exchange for a small amount of capacity loss.
With a normal charger, you can't do that. And chargers that are adjustable are often either expensive or poorly made. With this regulator board, however, all you have to do is set the output voltage to 52 volts. This will charge your 48V battery to 4V per cell, extending its overall lifespan.
Battery-to-Battery Charging
You can do exactly the same trick with a constant-current buck-converter regulator by using your higher-voltage pack as the “input rail” and letting the module’s CC/CV loop handle both current limiting and voltage regulation. To charge a 12 V battery from a 48 V source, first confirm the buck converter’s input stage can accept the full 48 V. Then adjust its output voltage pot to your battery’s recommended absorption or float voltage (for instance, about 14.4 V absorb and 13.6 V float on a lead–acid, or roughly 13.6 V for LiFePO₄) and set the current limit to the desired charge rate (e.g. 3 A for a 30 Ah lead–acid, or 0.1 C).
Connect the 48 V pack to the converter’s VIN/GND terminals, clip its VOUT/GND leads onto the 12 V battery (mind the polarity), and the buck converter will step the higher voltage down to your setpoint, automatically throttling current until the battery’s voltage rises near the set value. At that point its CV loop takes over, holding the programmed voltage while the charge current tapers to zero and then maintaining a safe float.
The same arrangement works for charging a single Li-ion cell (≈3.7 V nominal) from a 36 V pack. Hook up the 36 V battery to the input of the buck converter, and then simply set the output voltage to 4.20 V and the current limit to, say, 0.5 A (0.5 C for a 1 Ah cell). Then attach the cell to the output, and let the buck module automatically step down and regulate. It will supply a steady 0.5A while letting the voltage go to whatever it needs to be to maintain that current, up to the maximum set voltage of 4.2V. After that phase is complete, the regulator switches into CV mode keeps the voltage locked as current tapers off.
Using the Regulator for Cell Group Charging
You can also use a constant current buck converter to safely charge a cell group while its in series with other cells. All you have to do is connect the positive of the regulator output to the positive of the cell group, and the negative of the regulators output to the negative of the cell group that you are interested in. As long as the connections are touch just those places and no other places, you wont have any problems.
All of these tricks rely on one simple fact: an adjustable bench supply is just a programmable voltage source with an adjustable current ceiling. Clamp the current at zero and it functions like a voltmeter; clamp the voltage and it acts like a charger; dial in a fixed voltage and it becomes a regulated power rail. The amperage you see is merely the load drawing whatever current Ohm’s law dictates at that voltage. Three tools in one little box
Conclusion
These 1000W buck converters are an incredible value. You get a robust, versatile power module that handles a wide range of input voltages and delivers adjustable outputs in both voltage and current. Whether you’re powering non-battery devices from a DC supply, AC mains, or even charging batteries, this little board does it all—and then some. You can grab yours on Amazon for under 30 bucks.
Turn the guide into a real build plan
If this article is part of an actual battery, powerwall, or pack-design project, the next step is usually moving from theory into the calculators and planning tools.