How To Wire Balance Leads For Active Balancer And BMS
Posted November 9, 2022 • Updated February 29, 2024
You are here: Home / Blog / Battery Storage / How To Wire Balance Leads For Active Balancer And BMS
Table of Contents
Over time as a lithium-ion battery is used, the cells age at different rates. The BMS in the lithium-ion battery will shut the battery off when any one cell group goes past a certain threshold. When a cell group is out of balance, it can cause energy to be wasted because it can cause the BMS to shut off sooner than it otherwise would have.
Because of this, learning how to wire a BMS or balancer is critical in getting the absolute most out of your battery pack. Even if you don’t plan on equipping your lithium-ion battery with an active balancer, the process is the same for installing BMS leads.
In this article, we will go over what an active balancer is and a little about how they work. We will also discuss the benefits of using an active balancer and we will show you how to wire balance leads for an active balancer and BMS to a lithium-ion battery.
What Is An Active Balancer?
The act of active balancing is when energy is transferred between the cells to keep them in balance. This is in contrast to passive balancing which simply burns off the imbalance as heat. An active balancer is a device that facilitates active balancing. Some high-end BMS have active balancing built in. Most other BMS only use passive balancing and require an external active balancer.
Balancing, either active or passive helps maintain a healthy battery SoC (State of Charge) and extends the battery's overall cycle life. Balancing a battery also provides an additional layer of protection by preventing damage to a given cell group by keeping discharging and overcharging voltage within safe parameters.
Active balancing is much more effective than passive balancing. Not only does balancing happen faster with active balancing, but the balance energy is not wasted as it is passive balancing. Instead, the energy is simply moved to other areas of the battery pack.
The below images demonstrate various imbalance conditions on a 36V 10S3P lithium-ion battery pack.
Active Cell Balancing During Discharge
Even when just one of a battery pack's cell groups are imbalanced, overall battery capacity will be greatly diminished. This is because if one cell has a lower voltage than the other cells, it will reach its low voltage cutoff point sooner than the other cells.
All cells, however, will have to be shut off to protect the single low cell. This makes it so the lower portion of energy in all the other cells is left untapped.
If you have either an active balancer or a BMS with built-in active balancing, the cell's energy is redistributed from the higher cells to the lower cells.
Active Cell Balancing While Charging
If your battery does not have active balancing, then while it's being charged the lower-capacity cells will reach full capacity before the higher-capacity cells do.
This makes it so charging cuts off long before the battery pack runs out of places to put the energy. In contrast, active balancing redistributes the energy during the charging cycle.
Active balancing uses either capacitors, inductors, or DC-DC converters to draw energy from the most charged cell and transfer it to the least charged cells.
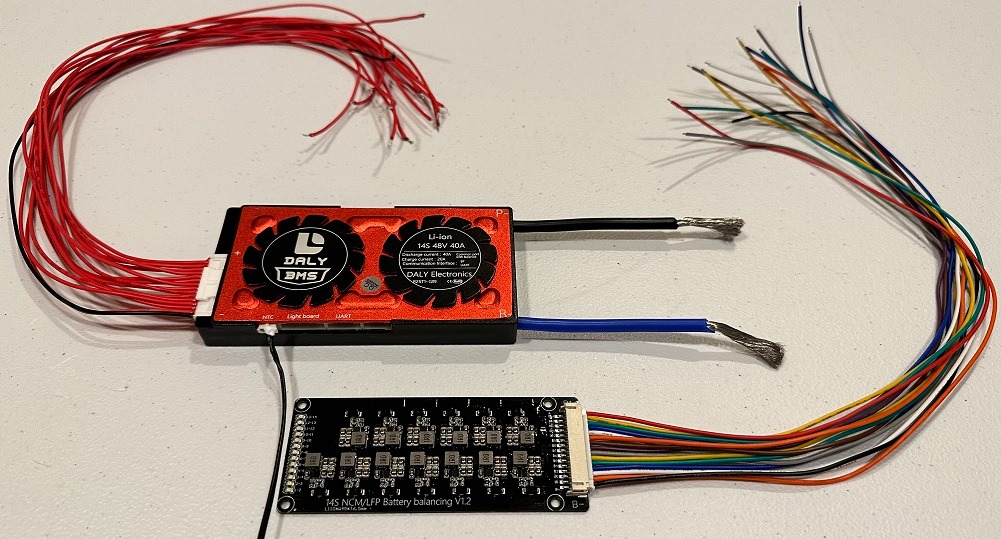
How To Wire Balance Leads For Active Balancer And BMS
You will have to solder on the connections for the active balancer port. The good news is that these solder points are not hard to find. All you have to do is follow the BMS sense wires and find out where each one terminates. Where each wire connects is where you have to solder the active balancer connections.
A BMS and an active balancer are both connected to a battery pack in the same way. Start by attaching the most negative balance lead to the most negative point of your battery pack. After that, attach the B1 balance lead to the point where the positive end of the first cell group meets with the negative end of the second cell group.
Repeat this process until you get to the end of the battery. If you did it right, you should only have one balance lead left by the time you get to the most positive point on the battery.
How To Solder The Balance Leads
Whenever building a lithium-ion battery involves soldering, it's always important to remember that battery cells are extremely sensitive to heat. So, any time you have to use the soldering iron near or on a cell, make sure to do it as quickly as possible.
The good news is that balance leads are very small wires that solder easily to nickel. So, first, tin the balance lead by simply melting a small amount of solder onto it. Then do the same thing to the area of the battery pack you plan on soldering to. This will ensure that the soldering process is quick when you actually go to attach the wire. Make sure the solder fully cools down and give the lead a slight tug to make sure it has a solid connection.
Conclusion
If you want to get the most out of your lithium-ion battery, then you need to know how to wire balance leads for active balancers and BMS modules. The good news is that although it can be a somewhat time-consuming process, it's relatively easy to do.
To wire balance leads for an active balancer and a BMS, all you have to do is attach the balance leads in order starting with the most negative balance lead and the most negative point on the battery pack. Continue that process working your way towards the positive end of the battery pack. Once you get to the most positive point on the battery pack you should have just one balance lead left.
We hope this article helped you learn everything you needed to know about how to wire balance leads for an active balancer or BMS. Thanks for reading!
Turn the guide into a real build plan
If this article is part of an actual battery, powerwall, or pack-design project, the next step is usually moving from theory into the calculators and planning tools.
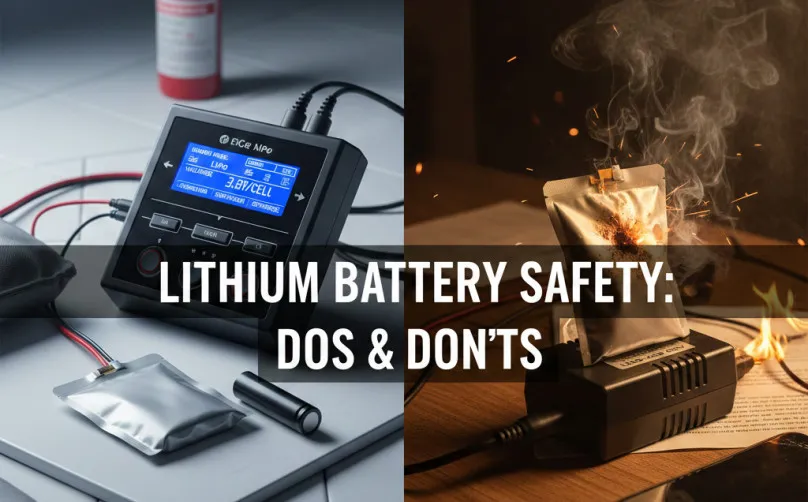
Charging a lithium battery with the wrong charger can lead to fire or explosion. This guide covers the essential "Do's and Don'ts" of lithium-ion and LiPo batteries, explaining the role of a BMS, the 80% rule for longevity, and safe storage practices to keep your home and devices protected.
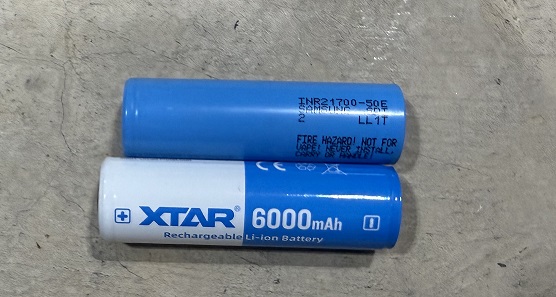
Looking to find the highest capacity 21700 cells on the market, that's not always the top consideration also the market is filled with tons of cells. We put together this article to help guide you to legit high-capacity 21700 cells and what to watch out for to avoid buying a fake cell.
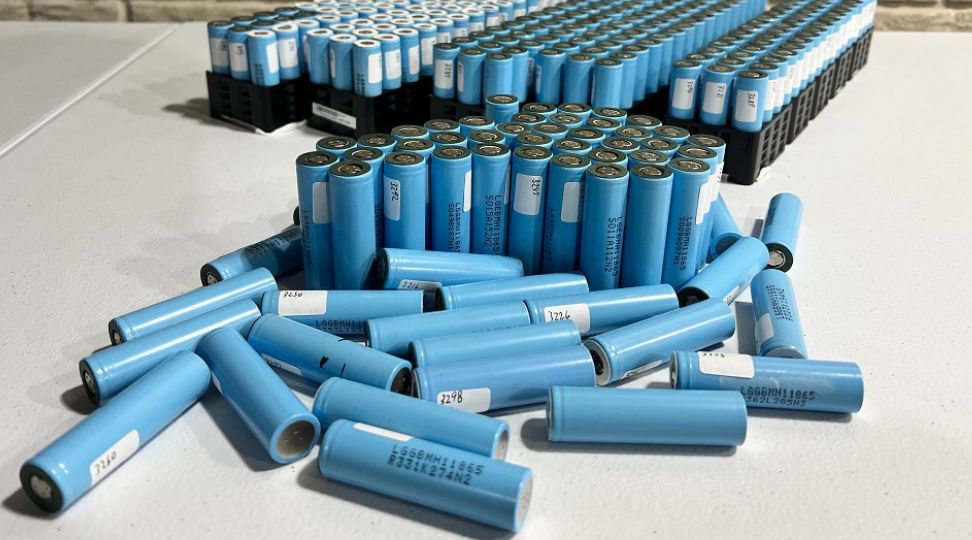
Heat is a major factor in reducing lithium battery life. Learn how exposure to sunlight, high currents, and low voltages can damage batteries, and discover effective strategies to enhance their lifespan.