LiFePO4 Battery Banks in Parallel
Table of Contents
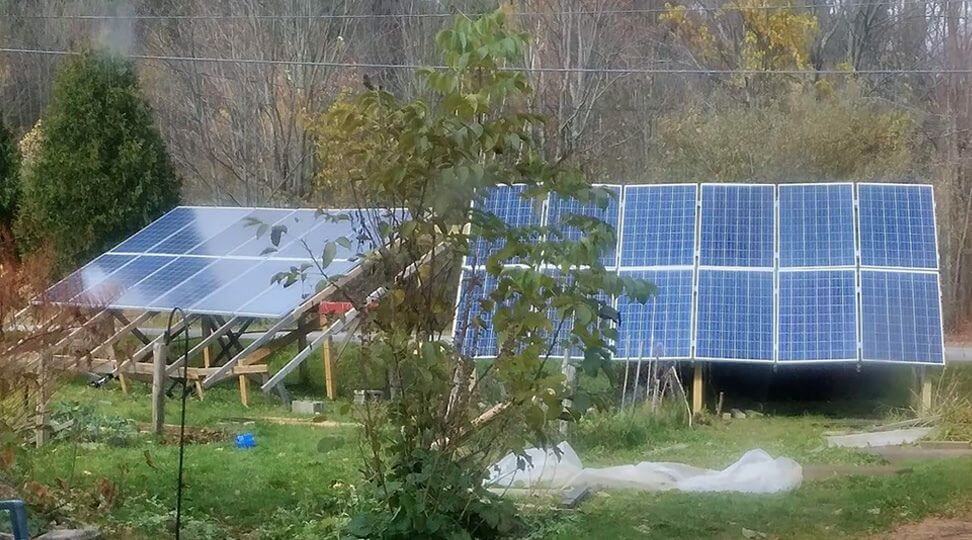
If you plan on designing a DIY solar setup for your home, shed, or RV, the heart of the system will be the battery bank. While there are several chemistries to choose from, LiFePO4 is often the best choice for home energy systems for several reasons. At some point you will be asking yourself, “How do you safely and efficiently connect multiple LiFePO4 battery banks in parallel?” (You can also check out our full guide on how to wire lithium batteries in parallel to increase amperage.)
Wiring LiFePO4 batteries in parallel is simple. All you have to do is connect all the positive terminals together and all of the negative terminals together. There is, however, some nuance involved depending on how much current your running, and how balanced your parallel connections are.
In this article, we’ll go over all the ways you can wire LeFePO4 batteries in parallel, and we will explain how to maintain a proper balance of current when doing so.
Why Choose LiFePO4 for Your Home Energy System?
Lithium iron phosphate batteries have several different properties compared to the traditional NMC chemistry that most lithium-ion batteries use. And the most important one is the cycle life. Your typical NMC lithium-ion battery can be recharged 500–800 times before it's considered end of life, at which point it only holds 80% of the capacity that it used to, and its internal resistance will have by then increased dramatically.
Lithium iron phosphate batteries, on the other hand, can last 2,000, 3,000, or even 4,000 cycles, depending on the quality of the cells and how you use them. Also, they have a more ideal voltage range for home energy applications, because most of the equipment that's used for home energy solutions — such as inverters, charge controllers, etc. — are made for either a 12 or 24-volt voltage range.
Systems and their components exist outside of those values, but most of the time, home energy systems are either going to be in the 12 or 24-volt range.
NMC In 24-Volt Systems
It's relatively easy to make something 24-volt compatible using NMC cells because you can just put 7 in series. The full charge voltage would be 29.4 volts, the nominal voltage would be 3.7 times 7, which would be 25.9 volts, and the dead voltage would be about 2.8 times 7 for about 19.6 volts.
So you've got around a 20 to 30-volt range with a 7S NMC lithium-ion battery. And because most 24-volt devices can work well within and even beyond that range, you won't have any problems.
NMC In 12-Volt Systems
But when you try to make 12 volts, you run into an issue. If you want to make 12 volts with NMC cells, you can try to put either 3 or 4 in series. Let's do both:
- 3 times 3.7 is 11.1 volts, so that's close enough to 12 volts for the nominal voltage. But if you do the dead voltage around 2.8 times 3, you're down to 8.4 volts. Even if you raise your cutoff voltage to 3 volts, you're down to 9 volts. That's too low to operate a 12-volt system.
- So let's try to add another cell in series. For 4S, we have a nominal voltage of 3.7 times 4. Well, that's 14.8. That's a little higher than 12 volts. It'd probably be okay. Most equipment that's made to run at 12 volts will cut off around 15 volts or something like that on the high end. So it would probably be okay.
But remember, that's just the nominal voltage. That means you're losing all the capacity north of nominal voltage, because 4.2 times 4 is 16.8. That's way too high for any 12-volt system.
LFP In 12-Volt Systems
But we can compare that now to LFP. With LFP, you have a 3.7-volt maximum voltage and a 3.2-volt nominal voltage. So 3.7 times 4, and we get 14.8. That's the max charge voltage. That's about what an alternator puts out when it's charging your car, which is a 12-volt lead-acid battery. And then when those batteries are dead, around 2.8 volts, multiply that by 4, and we have 11.2. That's still well within the acceptable operating range of a 12-volt system.
So, for any 12 volts system that's based on lead acid voltage ranges (and most are), the best type of battery to use is LFP. Doing that will ensure that you will be able to run your 12V equipment, regardless of the state of charge of your LFP cells in parallel.
Why LFP Is Ideal For Home Energy Storage
LFPs extremely high cycle life and its voltage range is what really makes them so ideal for home energy storage.
The one big drawback of LFP is that they're much lower energy density than NMC. So they're going to be larger. They're going to have more volume. They're going to be heavier compared to an equal-capacity NMC battery. But the thing is, for home storage, that doesn't matter. That matters if you're doing an e-bike battery or something like that, that has to be small, compact, and lightweight. At that point, you would want to use NMC because it's got the best energy density.
But for home energy storage, it doesn't have to be ultra-compact. And these batteries are still much more light, much more compact, and much more energy dense than the lead-acid batteries that they replace. And they last a whole lot longer. So for those reasons, LFP is definitely the best way to go for home energy storage.
Wiring LiFePO4 Battery Banks In Parallel
Can One 100Ah LFP Battery Power a House?
You might think if you're just starting out that you could get a single 100 amp hour 12-volt LFP battery and run your entire house, but just not for very long. That's not the case because most of these batteries have around a 200 amp discharge current limit. At a nominal voltage of 12.8 volts, 200 amps is just 2.56 kilowatts.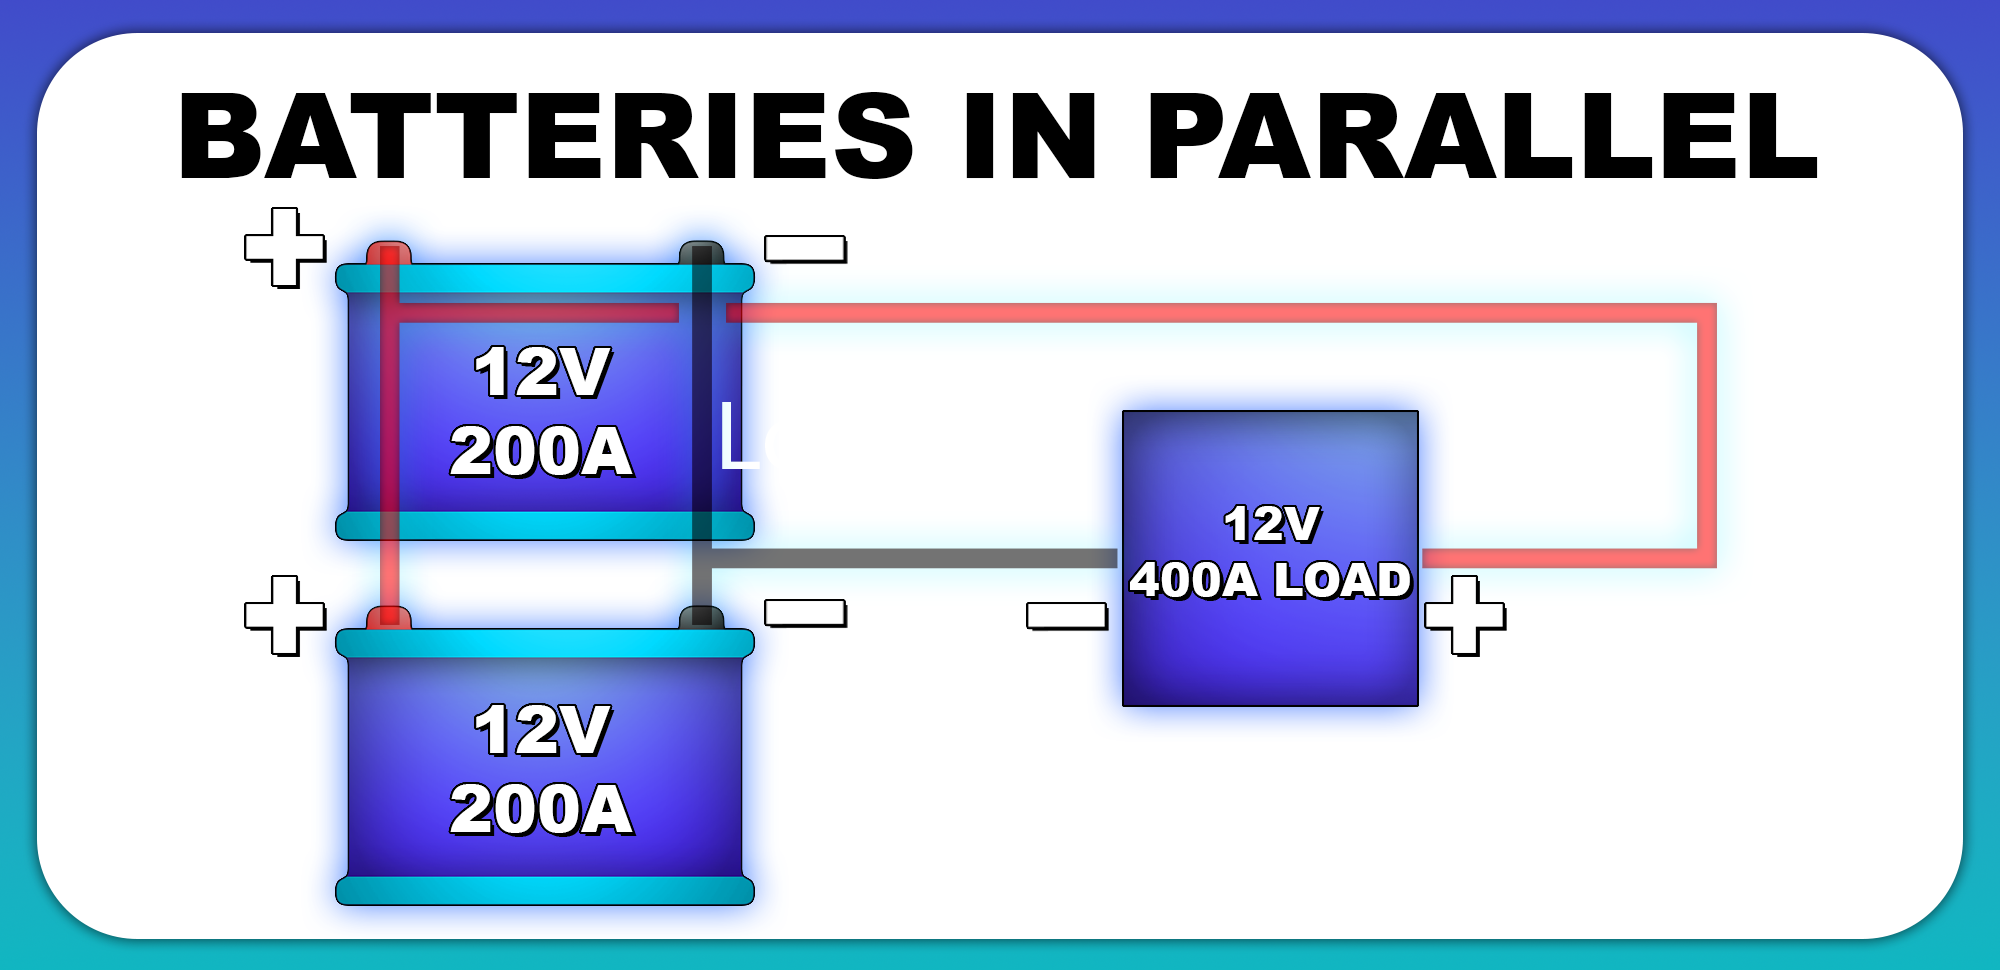
The average American household uses somewhere between 4 and 7 kilowatts of energy at any given point. It can go lower or higher than that, but that's a decent average to consider. So that means you have to put LFP batteries in parallel for increased current, even if you don't want the added capacity that comes along with that.
Wiring LiFePO4 Battery Banks In Parallel: Two Methods
There's two ways to wire batteries in parallel. You can do a simple daisy chain setup where one battery connects to the next battery in a row, and at one end of the row you'll have your positive and negative connections for energy to go in and out of the battery bank.
Or you can do a star topology where all the batteries have the same length cables and connect to some central point.
The Daisy Chain Arrangement
The first one we'll cover is the daisy chain arrangement. This can work fine in many applications as long as you consider:
- the amount of current that you're going to draw,
- the amount of current that each battery can support, and
- the amount of current that your parallel connections can take.
For example, if you have three 100 amp hour LiFePO4 batteries wired in parallel and they can each do 200 amps of current, that means the battery bank as a whole can do 600 amps of current.
Your series connections are extremely important when you're wiring LiFePO4 battery banks in parallel. If the cables can only do 200 amps each and you put a 600 amp load on the battery, in an ideal world each battery would see 200 amps of the load because it would be split three ways.
But remember they're all connected with the same 200 amp cable, and the electrons will take the path of least resistance. So if you have one long cable that's the same width the whole way down, the further and further you go, the higher and higher the resistance.
That means even if all of your LiFePO4 battery banks have the same resistance and they can all handle a very high current, if you have them in a daisy chain and you draw a high current from them, the battery closest to the terminals — the output — will see most of the load.
It will be somewhat split amongst the batteries, but most of the load will be seen by that first battery. Its voltage will drop more than the batteries at the end because the batteries at the end are seeing a much lighter load.
And then in an instant, right then and there, the batteries at the end will be charging the batteries closer to the terminals. This happens very quickly and ultimately isn't dangerous, but it does reduce the life of the batteries.
Improving the Daisy Chain Setup
The best way to wire LiFePO4 battery banks in parallel, if you're going to do the daisy chain method, would be to use more and more cable to connect each battery further and further down the line.
So you might use one positive and one negative cable for the first two batteries. And then for the next two batteries, you can use two positive and two negative cables. And then for the next two batteries, use four positive and four negative cables.
That way, you don't have to use so many cables the whole way down, and doing this will help even out the resistance.
If you don't want to do all that, then just make sure to keep your load at about half of your total current. So if you can support 600 amps, do 300 amps on the battery bank and it'll be just fine. But it will have a slightly reduced life because of that.
The Star Topology Arrangement
The other way is by organizing them in a star topology. If you have all of your batteries surrounding an area where you want to put your terminals, you can simply use the same length cable to connect all of those batteries to that common terminal. This will make a circular-shaped setup, but it makes it extremely easy to get balancing just right.
You could obviously arrange the batteries any way you want and just make sure you use the same length cable for each battery. But you'll end up with a bundle of cables somewhere or in multiple places if you do that — which is why I suggested the radial arrangement for connecting LiFePO4 battery banks in parallel while maintaining the balance of the parallel connections.
Conclusion
Whether you're expanding your DIY solar storage, setting up a battery backup generator, or preparing for the next power outage, understanding how to wire LiFePO4 battery banks in parallel is key.
With the right wiring, proper charging using MPPT controllers, (learn more about the difference between PWM and MPPT solar charge controllers) , reliable equipment like Victron inverters, and smart safety practices, your battery bank will deliver dependable, long-lasting performance for your home, shed, RV, or off-grid retreat.