Table of Contents
If you want to explore the realm of off-grid living, then you are going to need to know how to connect solar panels to a battery. Solar panels and batteries both come in a range of voltages and those voltages generally never match. So you need some sort of buck and boost converters, regulator, or controller between the solar panel and battery.
In most cases, a solar charge controller is used to connect a solar panel to a battery. Solar charge controllers come in various shapes, sizes, costs, and power output levels. Regardless of which solar charge controller you have, connecting a solar panel to it is pretty straightforward. All you have to do is match the positive and negative connections on the solar panel to the positive and negative panel input connections on your charge controller. After that, the positive and negative connections for the battery need to be attached to the corresponding positive and negative connections on the solar charge controller.
Can I connect a solar panel directly to a battery? Learn more by reading our other articles.
In this article, we will explain a little about how solar panels and batteries work. We will also discuss the battery charging process and explain how to connect solar panels to batteries.
How Do Solar Panels Work?
Solar panels, also known as photovoltaic (PV) panels, convert sunlight into electrical energy through the photovoltaic effect. When sunlight hits the semiconductor material in the solar cells, it knocks electrons loose, creating a flow of electricity. The electrical output of a solar panel is direct current (DC), which can vary based on the intensity of sunlight and other factors.
How Do Batteries Work?
Batteries store the electricity generated by solar panels for later use. There are various types of batteries used in solar power systems, including lead-acid, lithium-ion, and nickel-cadmium batteries. Each type has its advantages and disadvantages in terms of cost, efficiency, lifespan, and maintenance. Batteries operate by converting stored chemical energy into electrical energy when needed.
How Do Solar Panels Charge A Battery?
Charging a battery involves converting the electrical energy from the solar panel to a suitable voltage and current level that the battery can accept. This process needs to be carefully managed to prevent overcharging or undercharging, which can damage the battery and reduce its lifespan. This is where the solar charge controller comes into play. Learn how to prolong the life of a lithium battery through our other articles.
Parts Required To Connect Solar Panel To Battery
- Solar panel
- Battery
- PWM or MPPT solar charge controller
- 12 gauge wire
- Battery connectors
- Inline fuse holder
- 15A fuse
Tools Required To Connect Solar Panel To Battery
- Screwdriver
- Wire stripper
- Heat gun
- Scissors or wire cutter
- Multimeter
How To Connect Solar Panels To Battery
Never connect a solar panel directly to a battery. If you do, you run the risk of damaging the battery and solar panel. There has to be some sort of regulator or controller between the two components.

Also, it's important to use a fuse. A solar charge controller can be thought of as two separate circuits that connect in a controller way. So, each one of those circuits needs to be fused. Generally speaking, fuses are placed on the positive end as close as possible to the source.
To make the cables, cut two pieces of wire to the length and strip both ends.
To connect one of the fuse holder wires to your battery cable with a wire connector, start by placing a piece of heat shrink tubing on the wire you are going to connect to the fuse. A 10 gauge butt splice connector works well to make the connection. After that, move the heat shrink tubing down the wire until it covers the connection. Heat the heat shrink until its form-fitting around the connection.
Either crimp or solder the battery connectors onto the wires. After that, shrink-wrap the connections the same way you did above.
Connect the Battery to the Charge Controller
Connect the negative battery terminal to the negative terminal on the controller first. After that, connect the positive battery terminal (which should be fused) to the charge controller's positive connection.
Once you make a connection, whatever charge controller you are using will light up, turn on, or otherwise indicate that it has power. If you have a programmable charge controller, this is when you can take a look at its settings and make sure everything is reading correctly. Many charge controllers default to lead acid, so go into the settings and make sure it's set to the correct battery chemistry.
Connect the Solar Panel to the Charge Controller
The overwhelming majority of solar panels have cables with MC4 connectors. So, to be able to connect your solar panels to your charge controller, you will need MC4 solar adapter cables.
MC1 solar adapter cables are basically a length of decent-gauge wire that has an MC4 connector at one end and is stripped on the other side. Most solar charge controllers have screw terminals to make the connections.
First, attach the negative line for the solar panel to the positive solar panel input on the charge controller. Then, attach the negative cable the same way.
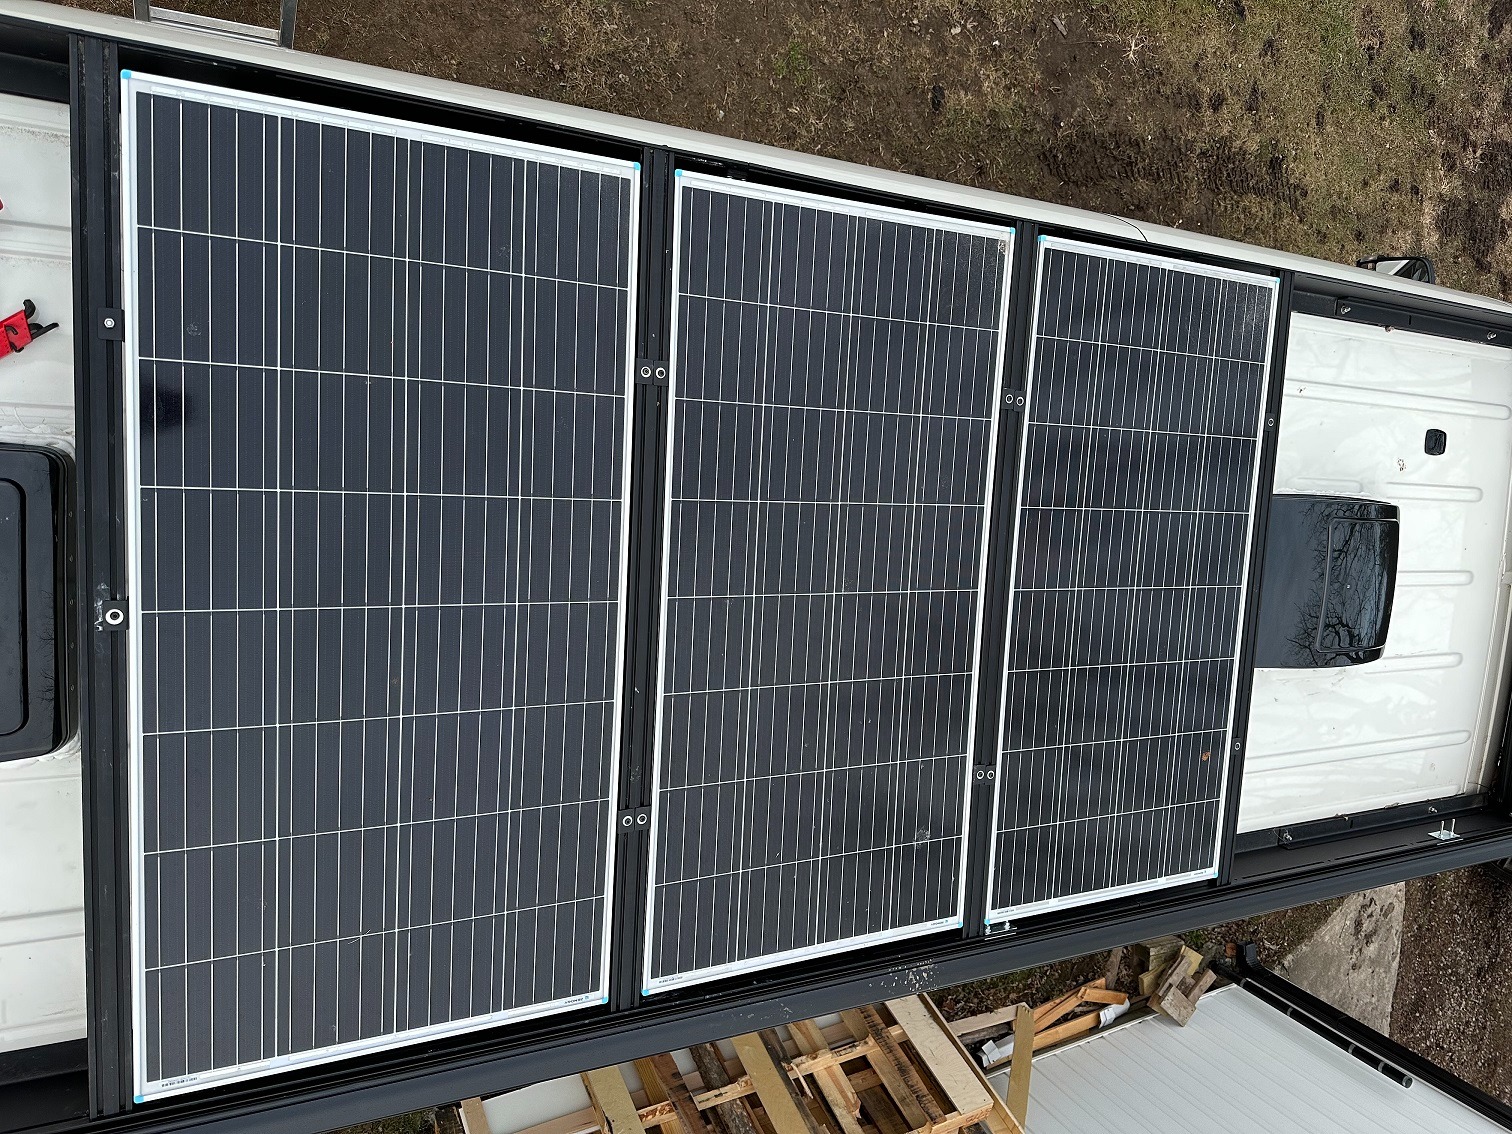
Put the Solar Panel in the Sun
It's critical for the solar panel to be in direct sunlight. To get the most energy possible out of your solar panel, it would need to be pointed directly at the sun. This is not possible without motors and motor controllers and several other key pieces of infrastructure.
The next best thing is to place the solar panel at a 45-degree angle and rotate it so that it faces the point in the sky that the sun reaches it at its highest. This will ensure you get the most energy out of a static, non-moveable solar panel.
Can I Connect A Solar Panel Directly To A Battery
No. You cannot connect a solar panel directly to a battery. A solar panel has a varying voltage range that is based on how much solar energy it is receiving and how much of a load it has on it. This varying voltage is not something you can directly charge a battery with. Connecting a solar panel directly to a battery will damage one or both.
What Goes Between A Solar Panel And A Battery
A charge controller is the most common device to place between a solar panel and a battery. Charge controllers widely range in price and feature set. There are high-current self-contained charge controllers with LCD displays and there are also small, low-power charge control modules.
What Happens To Solar Power When Batteries Are Full?
Literally nothing. Once you are not drawing any power from the solar panels, no power is being produced at the solar panel. It’s essentially an open circuit at that point. Sure, you will be able to measure a voltage coming from the solar panels with a multimeter even when the battery is fully charged, but that is voltage, not current.
It’s like asking ‘Where does the power go in a battery when you aren't using it?’ The answer is nowhere. It doesn’t go back to the battery, it simply stops leaving the battery. It's the same for a solar panel, a gas tank, or anything else.
What's The Difference Between A PWM and MPPT Solar Charge Controller?
PWM stands for pulse width modulation and MPPT stands for maximum power point tracking. Both types adjust charging rates based on the battery's state of charge. This allows charging a battery closer to its maximum capacity and prevents overheating.
PWM vs MPPT
Both charging technologies have their advantages and disadvantages. Generally speaking, MPPT is the better choice for most applications, but as far as which one to use, PWM vs MPPT solar charge controllers, that really comes down to several factors including but not limited to load size, cost, and weather conditions.
Temperature
If you live in a cold climate, an MPPT solar charge controller is best for you. This is because as solar cells increase in temperature, their operating voltage goes down.
So, in colder climates, solar panels generally have a higher operating voltage than they would in a hotter region. In these cases, an MPPT controller is able to make use of the excess voltage to charge the batteries. This makes it so that MPPT controllers can capture up to 25% more energy than a PWM controller in colder climates.
Array And Load Size
In some scenarios, there is more power coming from the solar array than what is needed for the load. In these cases, the batteries pretty much stay fully charged all the time. A PWM controller is perfectly capable of efficiently maintaining a system like that without the added complexity and expense of an MPPT solar controller.
Cost
Generally speaking, MPPT solar charge controllers are more expensive than their PWM counterparts. The higher efficiency of MPPT controllers warrants their higher cost, but only in conditions where MPPT can provide an increase in solar charge performance. To know which is best, MPPT or PWM, you have to consider several factors.
As you would expect, the cost is one of the most important driving factors when choosing either MPPT or PWM solar charge controllers.
How To Connect Solar Panels To Battery FAQ
Can I connect a solar panel directly to a battery without a charge controller?
No, connecting a solar panel directly to a battery can cause overcharging, leading to battery damage or even fire hazards. A solar charge controller is essential to regulate the voltage and current to prevent such issues.
What size solar panel do I need for my battery?
The size of the solar panel you need depends on your energy consumption and the capacity of your battery. As a general rule, a 100-watt solar panel can produce about 30 amp-hours per day, but this can vary based on sunlight availability and panel efficiency.
How do I choose between a PWM and MPPT charge controller?
Choose a PWM controller if your budget is limited and your system’s power needs are moderate. Opt for an MPPT controller if you need higher efficiency, especially in colder climates or if you have a larger solar array and battery system.
Can I use any type of battery with my solar panel system?
While you can use various types of batteries, not all are ideal for solar systems. Lead-acid and lithium-ion batteries are the most common. Lead-acid batteries are cheaper but have a shorter lifespan and lower efficiency compared to lithium-ion batteries.
How do I maintain my solar panel system?
Regularly clean the solar panels to remove dust and debris, check connections for corrosion or looseness, and ensure the charge controller settings match your battery type. Periodic checks and maintenance can prolong the system’s lifespan.
What happens to the excess energy produced by the solar panels when the battery is fully charged?
When the battery is fully charged, the solar charge controller stops sending energy to the battery, preventing overcharging. The excess energy remains unused as the system creates an open circuit.
Can I expand my solar panel system in the future?|
Yes, you can expand your system by adding more solar panels and batteries. Ensure your charge controller can handle the increased capacity and that your wiring is sufficient for the added load.
What if my solar panel system doesn’t produce enough power during cloudy days?
On cloudy days, solar panels produce less energy. To compensate, ensure your battery bank is large enough to store excess energy generated on sunny days, or consider having a backup generator or an additional power source.
Do solar panels work during the winter?
Yes, solar panels work during the winter as long as there is sunlight. However, their efficiency can decrease due to shorter daylight hours and potential snow coverage. An MPPT controller can help maximize efficiency in colder temperatures.
How do I properly angle my solar panels?
For optimal energy production, angle your solar panels based on your geographic location. Generally, a tilt angle equal to your latitude is a good starting point. Adjust seasonally if possible, or set them at a fixed 45-degree angle facing the sun’s highest point in the sky.
So, How Do I Connect Solar Panels To A Battery?
To connect a solar panel to a battery, you will need a solar charge controller to regulate the voltage and current between the two components. Begin by gathering the necessary parts: a solar panel, a battery, a PWM or MPPT solar charge controller, 12 gauge wire, battery connectors, an inline fuse holder, and a 15A fuse. Using tools like a screwdriver, wire stripper, heat gun, scissors or wire cutter, and a multimeter, start by cutting and stripping two pieces of wire. Connect one of the fuse holder wires to your battery cable using a 10 gauge butt splice connector and cover the connection with heat shrink tubing. Next, crimp or solder the battery connectors onto the wires and heat shrink the connections for a secure fit.
First, connect the negative battery terminal to the negative terminal on the charge controller, then connect the positive battery terminal (fused) to the positive terminal on the charge controller. Upon connection, the charge controller should light up or indicate power. Configure the charge controller settings to match your battery type. To connect the solar panel, use MC4 solar adapter cables, attaching the negative line to the negative solar panel input and the positive line to the positive input on the charge controller. Finally, place the solar panel in direct sunlight at an optimal angle to maximize energy production. This setup ensures safe and efficient charging of the battery from the solar panel.
We hope this article helped you learn everything you needed to know about how to connect solar panels to batteries. Thanks for reading!
Turn the guide into a real build plan
If this article is part of an actual battery, powerwall, or pack-design project, the next step is usually moving from theory into the calculators and planning tools.