Table of Contents
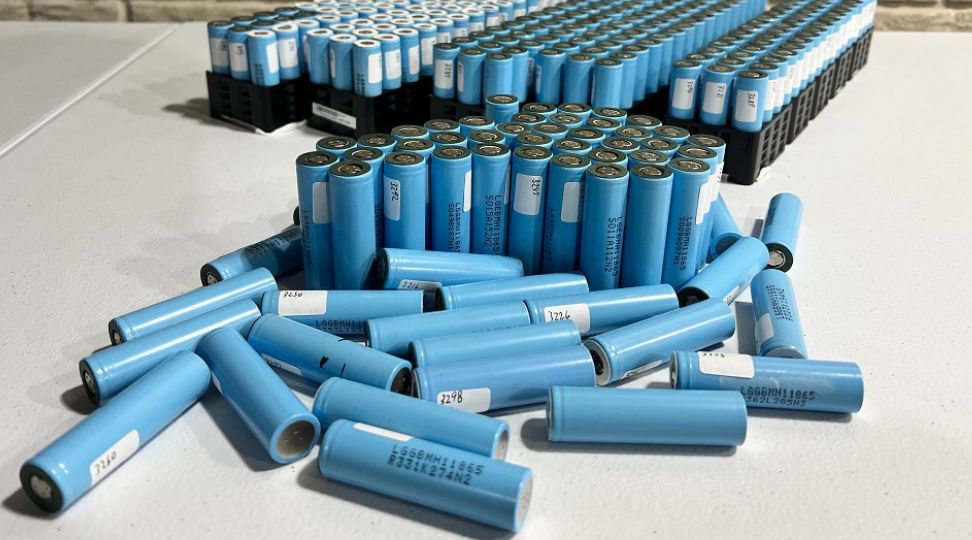
The battery packs used in RC Toys, Laptops, Drones, Power tools, Medical devices, e-bikes, and electric cars (EV) are all based on one form or another of lithium-ion battery technology. The most common type of lithium-ion battery cell is by far the 18650 canister cell. This is because it's the most mature lithium-ion cell format. This is why it’s important to know how to spot-weld battery packs.
Once the pack is welded, you'll need the right output plug: our battery connector guide compares XT60, Anderson, and the rest.
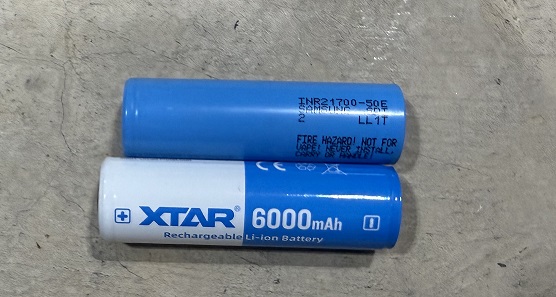
This type of battery cell is produced at extremely high volumes which brings down the cost of each individual cell through economies of scale. The 18650 name comes from the size of the battery cell. These cells are 18mm wide and 65mm tall. The extra 0 at the end simply means that it is a cylindrical canister cell. Compare this to the well-known AA battery which is a 14500. A 14500 is 14mm wide and 50mm tall, and again, the trailing 0 simply denotes the cylindrical shape of the cell.
Building for maximum runtime? Start from the highest-capacity 18650 cells currently available.
In this article, we will show how to spot-weld together a battery pack made from 18650 cells. Using the knowledge you acquire here, you will be able to build your very own lithium-ion battery pack for a power bank, a solar generator, a DIY powerwall, or even an e-Bike!! As you can see learning how to spot-weld a battery pack opens up a lot of possibilities!!
Parts and Tools Needed For Spot Welding
Parts Required:
1. Lithium-ion battery cells
2. BMS
3. Nickel Strips
6. Charge and Discharge connectors
7. Cell holders
Tools Used:
1. Spot Welder
2. Wire Stripper or scissors
3. Heat gun
3. Multimeter
Essential Tools & Supplies All tools and supplies needed for this project can be found at the link below BMS Picker
Choosing The Right Nickel Battery Strips
To make a traditional battery pack, 18650 cells need to be connected together with a pure nickel strip. Nickel strips come in various lengths, widths, and thicknesses. It’s a bit hard to find exact figures that everyone agrees on, but generally speaking, a 0.15mm thick piece of pure nickel strip can support about 1 amp of current for every millimeter of width.
The current limitations of a battery pack are defined by many factors, one of which is the series of connections between parallel cell groups. No matter how good your BMS is or how high-current your cells are if you don’t have strong series connections you will not be able to safely achieve the currents you may expect.
30 amps ÷ (1 amp x 7mm) = 4.3 strips.
So, if you are wanting to build a battery pack that is capable of supporting a 30 amp load continuously and you are using a 7mm wide nickel strip that is 0.15mm thick, you are going to need to use at least 5 strips to connect your cell groups.
Picking a Spot Welder To Use For Lithium Ion Batteries
When it comes to how to build a lithium-ion battery, spot welding is ideal compared to soldering because welding adds very little heat to the cells while joining them together with a strong bond. There are basically two types of spot welders on the market. Hobby welders and professional welders. A hobby spot welder costs anywhere between $50 and $150 dollars whereas a small-scale professional-grade welder can set you back $300 to $500.
If you are in the market for a spot welder and have not committed to a particular model yet, then I highly recommend you check out our other article on the best spot welders for lithium-ion batteries.
Determine Battery Pack Capacity And Voltage
In order to be able to make a battery pack, we have to first determine what voltage and capacity the battery pack needs. After that, a cell layout must be determined. Remember, in order to increase the capacity of a battery, you have to connect cells in parallel. In order to increase the voltage, you have to add cells in series. You will find that in most cases you will have to do both. In this example, we will build a '12V' lithium-ion battery that has a nominal voltage of 11.1 V.
If you plan on running an AC inverter to do anything practical, then you are going to need at least 100 watt-hours of energy. After inverter losses (because nothing is 100 percent efficient) you would be left with about 80 usable watt hours of energy. This is a very small battery, but it is more than enough energy to run low-power AC electronics for several hours or even all day, depending on what you are running.
Check The Cell Voltages Before Spot Welding
If you want to know how to spot-weld a battery pack, you first need to learn how to verify cell voltages and ensure that they are close enough (or ideally exactly the same) to be added together. If you connect cells in parallel that are not at the same (or very close) voltage, then you run the risk of over-current (and thereby overheating and damaging) your cells. In a very worst-case scenario, it can start a fire.
So, grab a multimeter and set it to DC volts. There will be a couple of options for DC depending on your multimeter. For best accuracy, you need to set the multimeter to the range that is directly above what you are trying to measure. So, your multimeter has range options of 200mv (0.2V), 2V, 20V, 200V, and 600V, and you are trying to measure 48V, you would set the range to 200V as it is the range that is directly above the voltage you are wishing to measure.
In the case of checking the voltage of individual lithium-ion cells, the range setting should be set to 20V as you are needing to measure voltages between 2.5V and 4.2V.
When connecting cells in series that are out of balance, you don't have to worry about burning the house down or even damaging your cells, but you will have performance issues with the battery.
Layout The Cells for Spot Welding
Now that we know our battery pack will be in 3S2P configuration, we can put the cells together. We have 2 cells each in the parallel groups ( 5000 mAh x 2 = 10000 mAh) and we have 3 of those groups in series.
To begin, place the first parallel group of 2 cells positive side up. Place them next to the second parallel group which will have the negative side up.
Cut The Nickel Strips
Now it's time to set your nickel strip on top of the 4 cells in the first and second parallel groups. Make sure that the nickel strip covers all four cell terminals evenly. Make sure to leave around 10mm of extra strip in order to have somewhere to solder the BMS balance leads to.
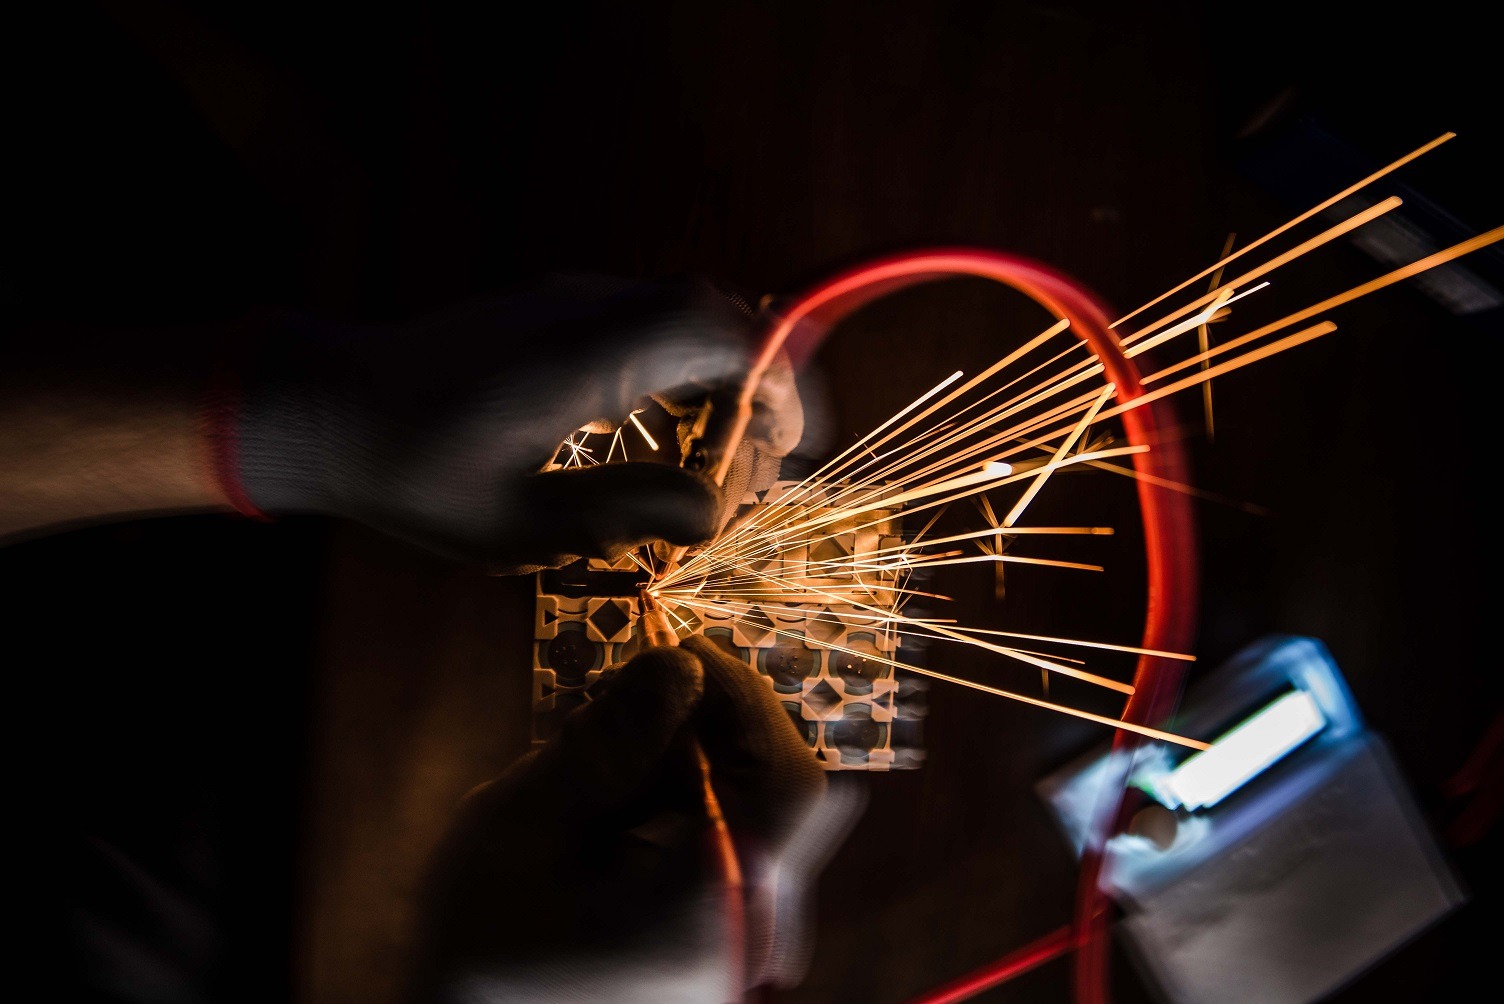
Spot Weld The Nickel Strips
Now it's time for the best part. Spot welding! Spot welding is easy. The first step is to set the amount of energy or the pulse time, depending on the welder. After that, it's a matter of placing the nickel strip on top of the cell group you wish to weld.
The welding electrodes need to be pressed down with a light amount of pressure. You really only want to use enough pressure to ensure that there are no air gaps either between your probes and the nickel or between the nickel and your cells. If you use any more pressure than that, then you risk reducing the overall resistance in the weld.
Remember, spot welding depends on a high resistance to generate a high amount of heat to get a good weld.
Add The BMS After Finishing Spot Welding
Finally, its time to attach your BMS, if you have three cells in series connected positive to negative, there will be a connection on one end that is negative and one end that is positive. The B- connection goes to the most negative point in your battery circuit.
After that, the B1 connection is connected to the first junction where cell 1 meets cell 2. As you would expect, B2 connects to the very next junction between cell 2 and cell 3. Finally, B+ connects to the most positive point in your battery circuit. The P+ and P- connect to the outside world (charger and/or load).
Final Battery Pack Assembly
We can't simply stop after making an electrically sound battery. We also have to make it physically sound. So, use Kapton tape to cover any conductive parts that you can see. After that, use strapping tape to go around the perimeter of the battery to provide more overall structure and rigidity.
Also, stripping tape is good to put on top of the Kapton tape as well. Basically, you want to make it so that you can safely drop a pair of keys onto the battery without anything bad happening. Keep in mind, I am not asking you to test that theory.
Charge The Assembled Battery Pack
There are a variety of ways to charge your new battery pack. The simplest and most straightforward way is to buy a ready-made 3S 12.6V lithium-ion battery charger. It must be a proper constant current battery charger. You cannot, I repeat, cannot use a 12V power supply to charge a 3S lithium-ion battery.
If you have a DC power source that is 13.5V or higher, then you could attach a low-cost constant current buck converter to your power supply that can be used to safely and effectively charge lithium-ion batteries. If you are more interested in how to build a battery charger using this method, then check out our article on DIY bench power supplies.
Tips and Tricks For Using A Spot Welder
A spot welder can either be your best friend or your worst enemy. It all comes down to how you use it.
Use a reasonable power level
If you are seeing large sparks flying when you are welding, that means the power is turned up way too high for the metal you are trying to weld. So, if you are welding thinner metals, make sure to turn the power down accordingly.
Press firmly but not super hard
A spot welder relies on a high-resistance connection between the metal and the electrodes in order to generate enough heat to form a weld. So, when you are pressing your probes down onto the battery, use just enough force to remove any air gaps between the surface and the metal.
Keep Your Battery Voltage Up
Just because your welder is on and working does not mean that it's going to work well. As the welder's battery voltage drops, its ability to weld becomes diminished. So, make sure to keep your battery topped off pretty regularly.
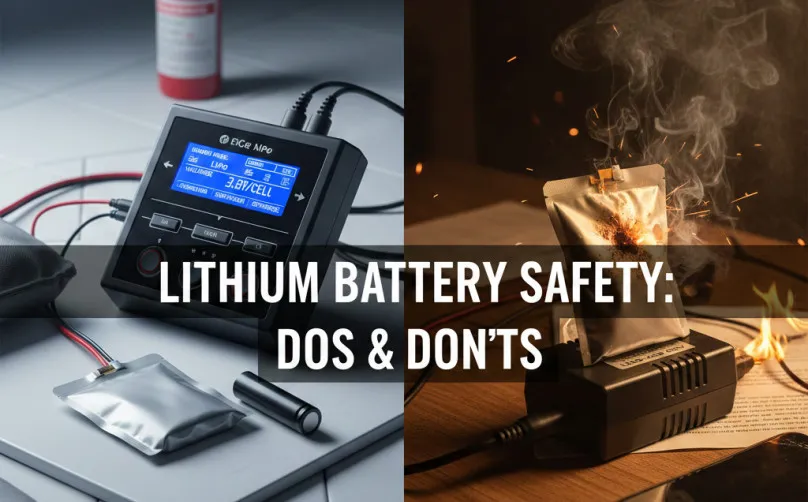
Conclusion
Learning how to spot-weld battery packs is a crucial step if you plan on building or designing portable electronics. Sure, you could always buy pre-built battery packs for your projects but they will never be as low cost as doing it yourself. Also, without knowing how to spot-weld battery packs, you are left to the mercy of the quality, shape, size, and availability of pre-build batteries.
When you learn how to spot-weld a battery pack, you control the quality and the cost is much lower. Also, when you can do something yourself instead of relying on others it's always a satisfying experience!
We hope this article helped you learn what you needed to know about how to spot-weld battery packs. Thanks for reading!
Turn the guide into a real build plan
If this article is part of an actual battery, powerwall, or pack-design project, the next step is usually moving from theory into the calculators and planning tools.
Battery Storage
If this article sent you down a deeper rabbit hole, the topic page collects the rest of our guides, explainers, and project notes in this category.
Browse Battery Storage